Navmesh Disabling
| This article is incomplete. You can help by filling in any blank descriptions. Further information might be found in a section of the discussion page. Please remove this message when no longer necessary. |
[edit | edit source]
When making Fallout 3, there was only one specific instance in which a large section of navmesh had to be enabled/disabled on the fly. This was the drawbridge at Rivet City. The handle this, we are able to create separate navmesh from an existing navmesh, then enable and disable those parts.
Because this feature was created for such a specific instance, it should be considered experimental. Should you need this functionality for any of your projects, here is a brief overview:
[edit | edit source]
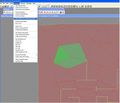
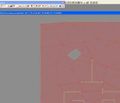
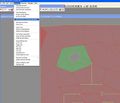
You can create a separate navmesh from a subset of triangles: To do this, select a bunch of triangles and select “Move Selection to separate navmesh” in the Navmesh menu, as in Fig 1a.
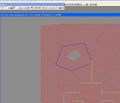
You’ll end up with something looking like Fig 1b: Blue edges mean ‘special’ navmesh portal. They only get created when you use this menu command.
The following two functions enable/disable a navmesh
- EnableNavMesh NavmeshFormIDHere
- DisableNavMesh NavmeshFormIDHere
To change the ID of a Navmesh, find its editor ID in the Cell View Window. Right click on the ID, and select Edit. A new dialog will open, from which you can change the ID and set the Navmesh to be Initially Disabled.
You CAN’T use NavmeshFormIDHere.enable, nor can you have activate parents, because Navmeshes are not references.
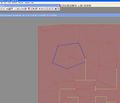
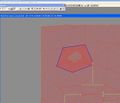
You can go on to swap this navmesh with a replacement, if your situation calls for such. To start with, create the first navmesh like I described above Once you do, select a triangle on this new navmesh, as in Fig 1c. Now HIDE it. Hit H to hide a navmesh, Ctrl-H to unhide Navmeshes. Your workspace should look like Fig 1d.
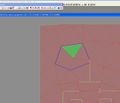
Create more triangles for the new version (don’t worry about blue edges) as in Fig 2a. Repeat the steps above to select this new area and separate into its own navmesh, as in Fig 2b.
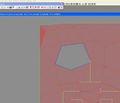
You’ll end up with this something like Fig 2c. Hit Ctrl-H to unhide all Navmeshes, you should see the overlapping separate navmesh objects, as in fig 2d.
Finalize and save. In the game, enable one navmesh and disable the other via script, using the commands above. Be sure that both navmesh objects are not enabled at the same time.
